
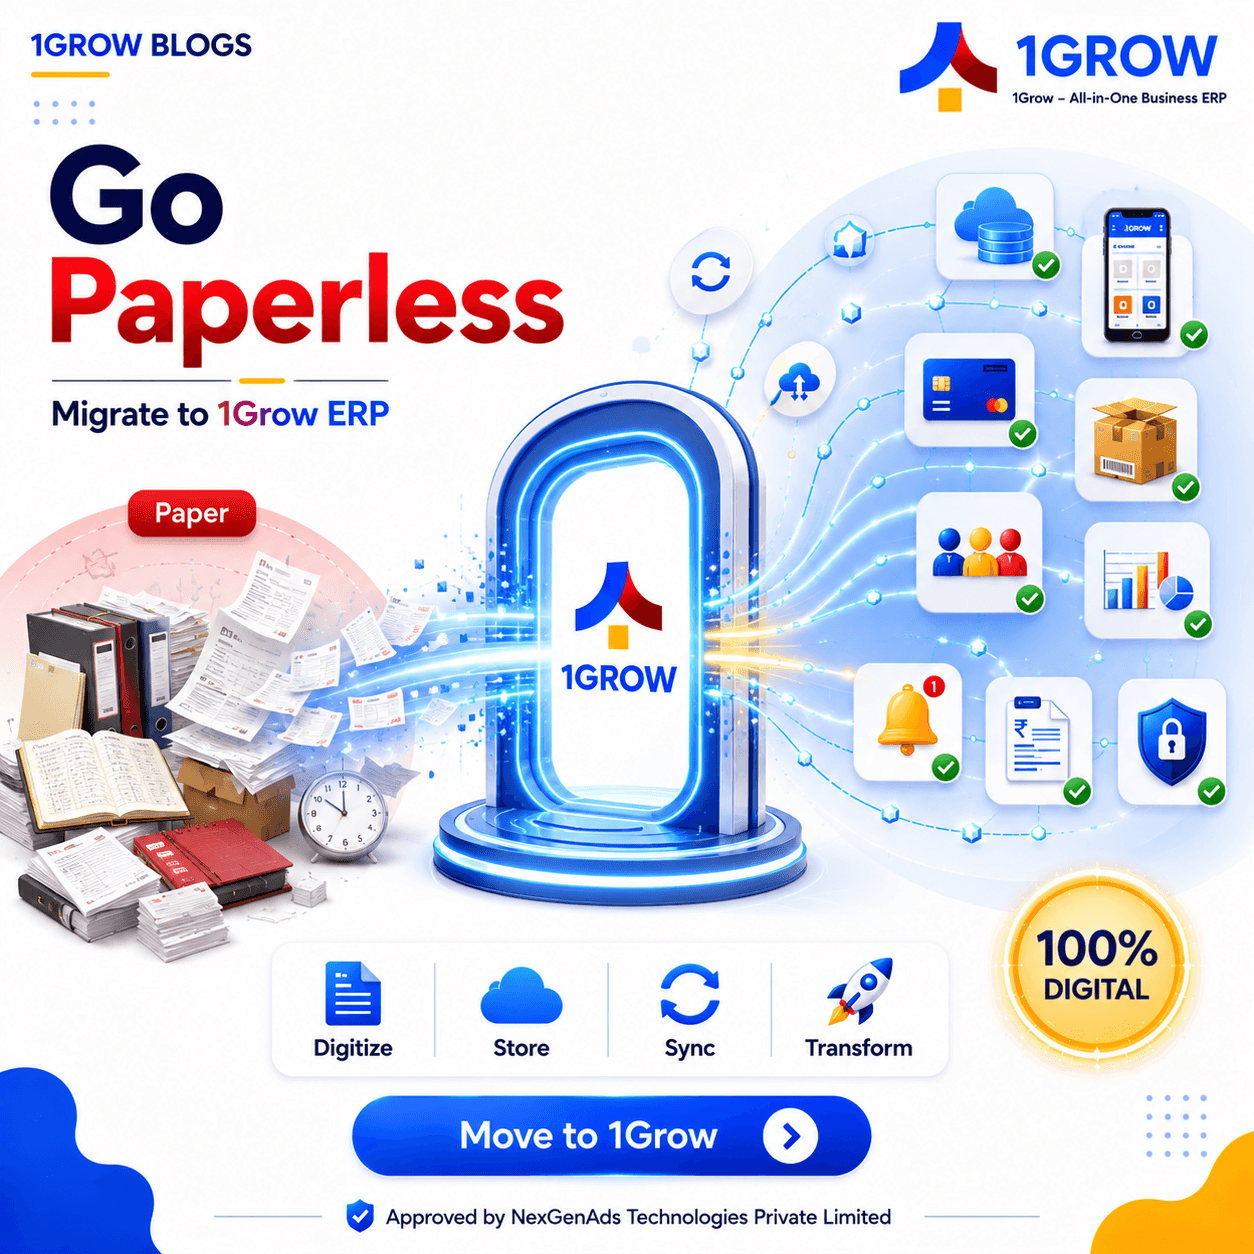
From Paper to Product: A Step-by-Step Migration Checklist
Practical migration steps from paper-based systems to a SaaS platform. Includes data export templates, field mapping tables, and go-live procedures.
CoFounder, NexGenAds Technologies Pvt Ltd
TL;DR
Practical migration steps from paper-based systems to a SaaS platform. Includes data export templates, field mapping tables, and go-live procedures.
Why Migrate from Paper?
Paper records are hard to search, impossible to share, and prone to damage. A digital system gives you instant access, real-time updates, and automatic backups. Here is exactly how to make the switch.
Before You Start
Assess Your Current State
- List all paper records you currently maintain
- Identify which records are critical vs optional
- Determine how far back you need to migrate (recommend: 12 months)
- Assign a migration lead responsible for the project
Phase 1: Data Export (Week 1)
Export from Paper
- 1Customer List: Name, phone, email, address, membership status
- 2Student Records: Name, parent contact, course, enrollment date, fee status
- 3Inventory List: Item name, quantity, location, condition, value
- 4Staff Records: Name, role, contact, salary, join date
- 5Financial Records: Invoice numbers, amounts, dates, payment status
Use These Templates
| Field | Format | Required |
|---|---|---|
| Name | Text | Yes |
| Phone | 10 digits | Yes |
| email format | No | |
| Address | Text | No |
| Category | Text | No |
| Field | Format | Required |
|---|---|---|
| Item Name | Text | Yes |
| Quantity | Number | Yes |
| Location | Text | Yes |
| Unit Price | Number | Yes |
| Category | Text | No |
Phase 2: Data Mapping (Week 2)
Field Mapping Table
| Paper Field | 1Grow Field | Notes |
|---|---|---|
| Customer Name | Customer Name | Direct match |
| Mobile Number | Phone | Remove country code |
| Course Name | Category | Map to module |
| Fee Amount | Invoice Amount | Include GST if applicable |
| Payment Date | Payment Date | Use DD/MM/YYYY format |
| Attendance | Attendance | Mark as Present/Absent |
Validation Rules
- Phone numbers must be 10 digits
- Email addresses must contain @ and domain
- Dates must be in DD/MM/YYYY format
- Amounts must be numbers without currency symbols
Phase 3: Import and Validate (Week 3)
Import Steps
- 1Download CSV templates from 1Grow
- 2Copy your mapped data into the templates
- 3Run the import tool with validation enabled
- 4Review any errors or warnings
- 5Fix issues and re-import problematic records
Validation Checklist
- Total imported records match expected count
- Spot-check 10% of records for accuracy
- Verify phone numbers are correct
- Check that amounts match your paper records
- Confirm all branches are represented
Phase 4: Go-Live (Week 4)
Go-Live Checklist
- Process first transaction in 1Grow
- Verify invoice generation works correctly
- Test payment collection and receipt generation
- Confirm staff can log in and perform basic tasks
- Check that reports show correct data
### Parallel Running Run both systems for 1 week:
- Enter data in both paper and 1Grow
- Compare results at end of each day
- Fix any discrepancies immediately
- After 1 week of clean data, retire paper system
Post-Migration
Week 5 and Beyond
- Archive paper records securely
- Train remaining staff on the new system
- Set up automated backups
- Configure notifications and reminders
- Schedule first monthly review
Common Migration Pitfalls
- 1Dirty data: Clean your data before importing
- 2Incomplete mapping: Map every field, even optional ones
- 3Skipping validation: Always validate before go-live
- 4Rushing the timeline: Give yourself 4 weeks minimum
- 5Ignoring staff concerns: Involve the team in the process
Tags
Related Articles
Launch Checklist for Small Multi-Business Owners (Tamil Version)
A downloadable bilingual checklist in Tamil and English for onboarding to a new SaaS platform. Includes must-have data, setup steps, and time estimates.
Payroll & Compliance Basics for Regional Businesses (Tamil Nadu Focus)
Overview of payroll components, Tamil Nadu compliance requirements, and how a SaaS ERP helps with statutory forms and records management.